On-grid solar inverters are crucial for converting the direct current (DC) generated by solar panels into alternating current (AC) used by household appliances or fed back into the electrical grid. These inverters are a vital part of solar power systems that connect directly to the public electricity network. This guide will walk you through the process of connecting an on-grid solar inverter, ensuring a smooth and efficient setup for your solar power system.
Benefits of On-Grid Solar Systems
On-grid solar systems offer several benefits, including reduced electricity bills, a lower carbon footprint, and the potential to earn from surplus energy fed back to the grid. These systems are ideal for areas with reliable grid infrastructure, allowing homeowners to harness solar energy while remaining connected to the electrical grid. This hybrid approach ensures a consistent and sustainable energy solution.
Essential Components for On-Grid Solar Inverter Setup
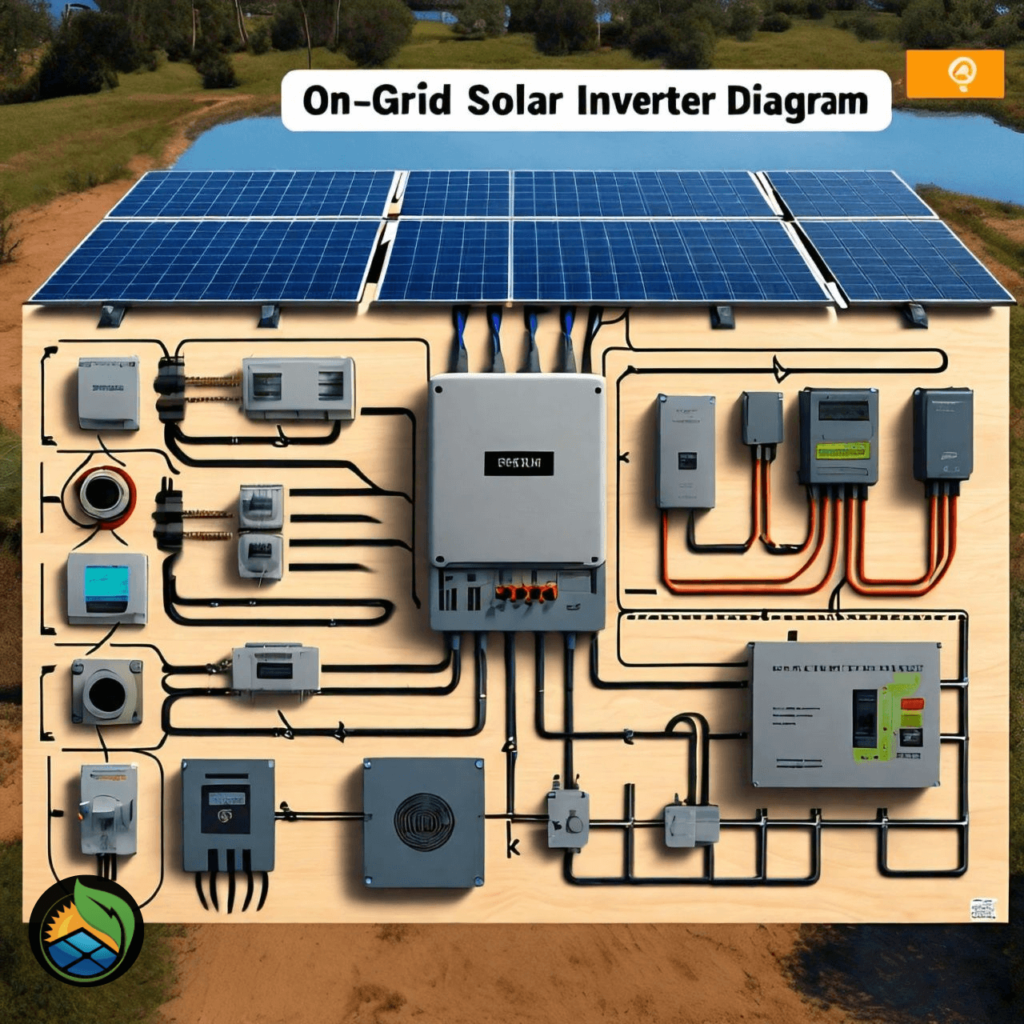
To set up an on-grid solar inverter, you’ll need several key components. Solar panels capture sunlight and convert it into DC electricity. The on-grid inverter converts this DC into AC and synchronizes it with the grid frequency. You’ll also need a metering device to measure the electricity produced and consumed, a mounting structure for the solar panels, wiring and cabling to connect everything, and a connection to the local utility grid.
Step-by-Step Guide to Connecting Your On-Grid Solar Inverter
Safety Precautions
Safety is paramount when installing an on-grid solar inverter. Ensure all electrical circuits are turned off, wear appropriate protective gear, and follow all manufacturer guidelines and local regulations. If you’re unsure about any step, consult a professional electrician to avoid risks.
Mounting the Inverter
Choose a cool, dry, and well-ventilated area to mount the inverter. Securely fasten the inverter to the wall or support structure using the brackets provided. This ensures that the inverter remains stable and functions efficiently over time.
Connecting the Solar Panels
Install the solar panels on your roof or ground structure, ensuring they are positioned to receive maximum sunlight. Connect the panels using MC4 connectors in either series or parallel, depending on your system design. Properly connected panels are crucial for optimal energy generation.
Connecting to the Electrical Grid
Install the metering device to monitor the energy flow between your solar system and the grid. Connect the inverter to your home’s main electrical supply and the grid using appropriate cabling. This connection allows the excess energy generated by your system to be fed back into the grid, potentially earning you credits.
Wiring the Inverter
For DC wiring, connect the positive and negative wires from the solar panels to the inverter’s DC input. For AC wiring, connect the inverter’s AC output to the main electrical panel and the grid connection point. Ensure all connections are secure and follow the manufacturer’s instructions closely.
Testing and Commissioning
Once all connections are made, check them thoroughly to ensure everything is secure and correctly installed. Power on the inverter and check the display for normal operation indicators. Ensure the inverter is properly synchronized with the grid to start generating and using solar energy efficiently.
Common Issues and Troubleshooting Tips
Common issues you might encounter include the inverter not turning on, low power output, or grid connection problems. If the inverter doesn’t turn on, check the wiring and ensure all connections are secure. Low power output may be due to shading or damage to the solar panels. Grid connection issues can often be resolved by verifying that the grid voltage and frequency are within acceptable ranges.
Maintenance and Monitoring of Your On-Grid Solar System
Regular maintenance is essential to keep your solar system operating efficiently. Inspect the panels regularly, clean them to prevent dirt buildup, and check for any damage. Monitor the inverter’s performance and check the display for error codes. Keeping the inverter’s firmware updated will also help maintain its functionality and efficiency.
EverGreen Power Ltd: Your Trusted Installation Partner
Evergreen Power Ltd is a leading company in Pakistan, specializing in the installation of on-grid solar inverters. With years of experience and a team of certified professionals, they ensure that your solar power system is set up efficiently and safely. Choosing EverGreen Power Ltd for your installation needs guarantees a reliable and professional service, helping you maximize your solar investment.
FAQs
How to connect an on-grid solar inverter?
Connect solar panels to the inverter’s DC input, then connect the inverter’s AC output to the main electrical panel and grid connection point.
How to connect a solar inverter to mains?
Connect the inverter’s AC output to the main electrical panel using appropriate cabling and ensure compliance with local electrical codes.
How is a solar inverter connected?
Solar panels are connected to the inverter’s DC input, and the inverter’s AC output is connected to the main electrical panel and grid.
What is the grid connection operation of inverters?
Inverters synchronize with the grid’s frequency and voltage to feed excess energy generated by solar panels back into the electrical grid.
How does MPPT work in a grid-tie inverter?
MPPT (Maximum Power Point Tracking) optimizes solar panel output by adjusting the voltage and current to maximize power generation, enhancing efficiency in grid-tie inverters.
Conclusion: Maximizing Your Solar Investment
Connecting an on-grid solar inverter is a valuable investment that offers significant environmental and financial benefits. By following this comprehensive guide, you can ensure a successful installation and enjoy the advantages of solar energy for years to come. Proper maintenance and monitoring will help you maximize your solar investment, making your home more energy-efficient and sustainable.